Create and send a message over Broadcast
Broadcast enables you to send a single message to multiple recipients across different channels. This page describes how to create and launch a broadcast in the Infobip web interface, including how to upload recipients, use templates, enable failover, and add placeholders.
Create a new Broadcast message
To create a Broadcast message from scratch, follow these steps:
-
Log in to the Infobip web-interface.
-
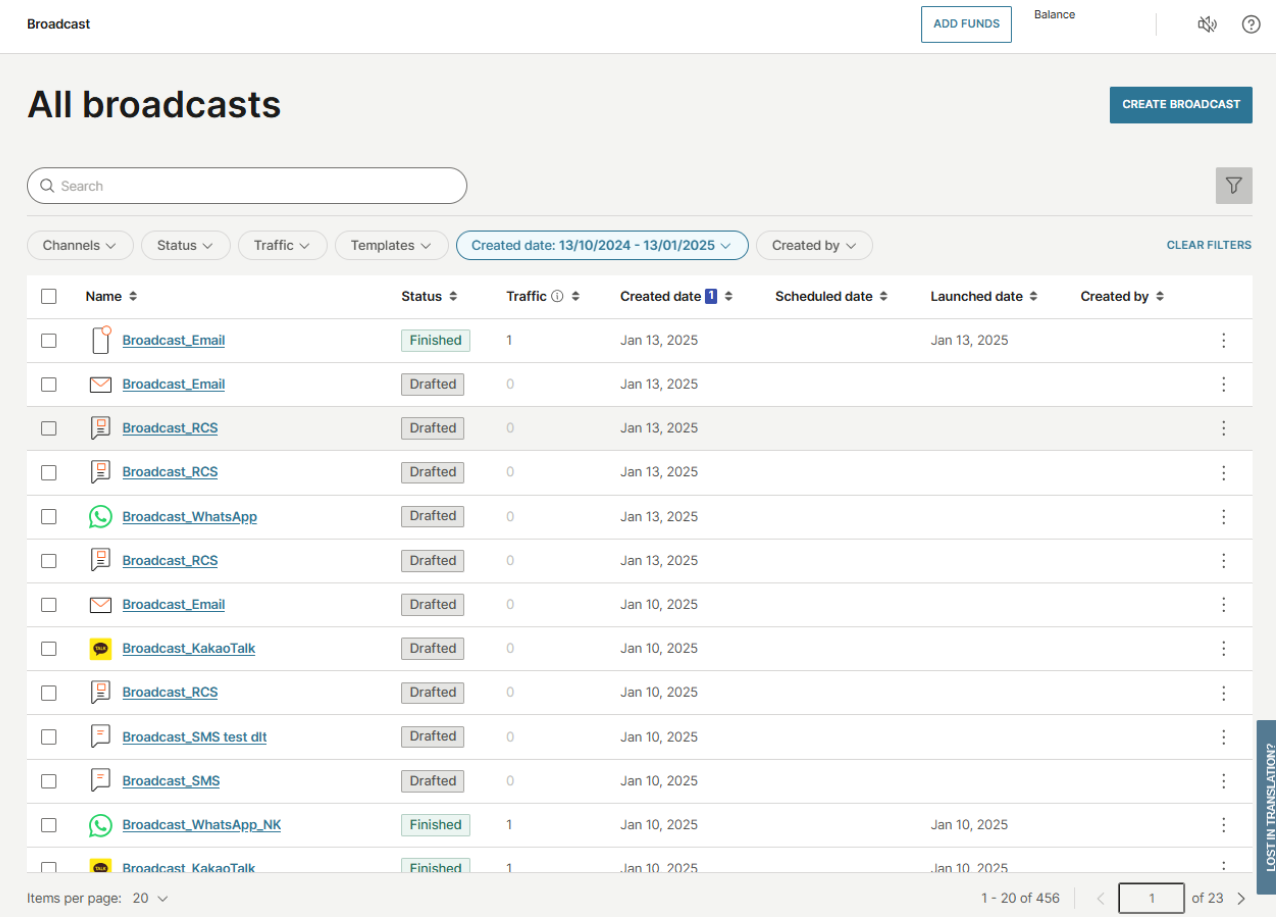
Navigate to Broadcast and select Create broadcast.
-
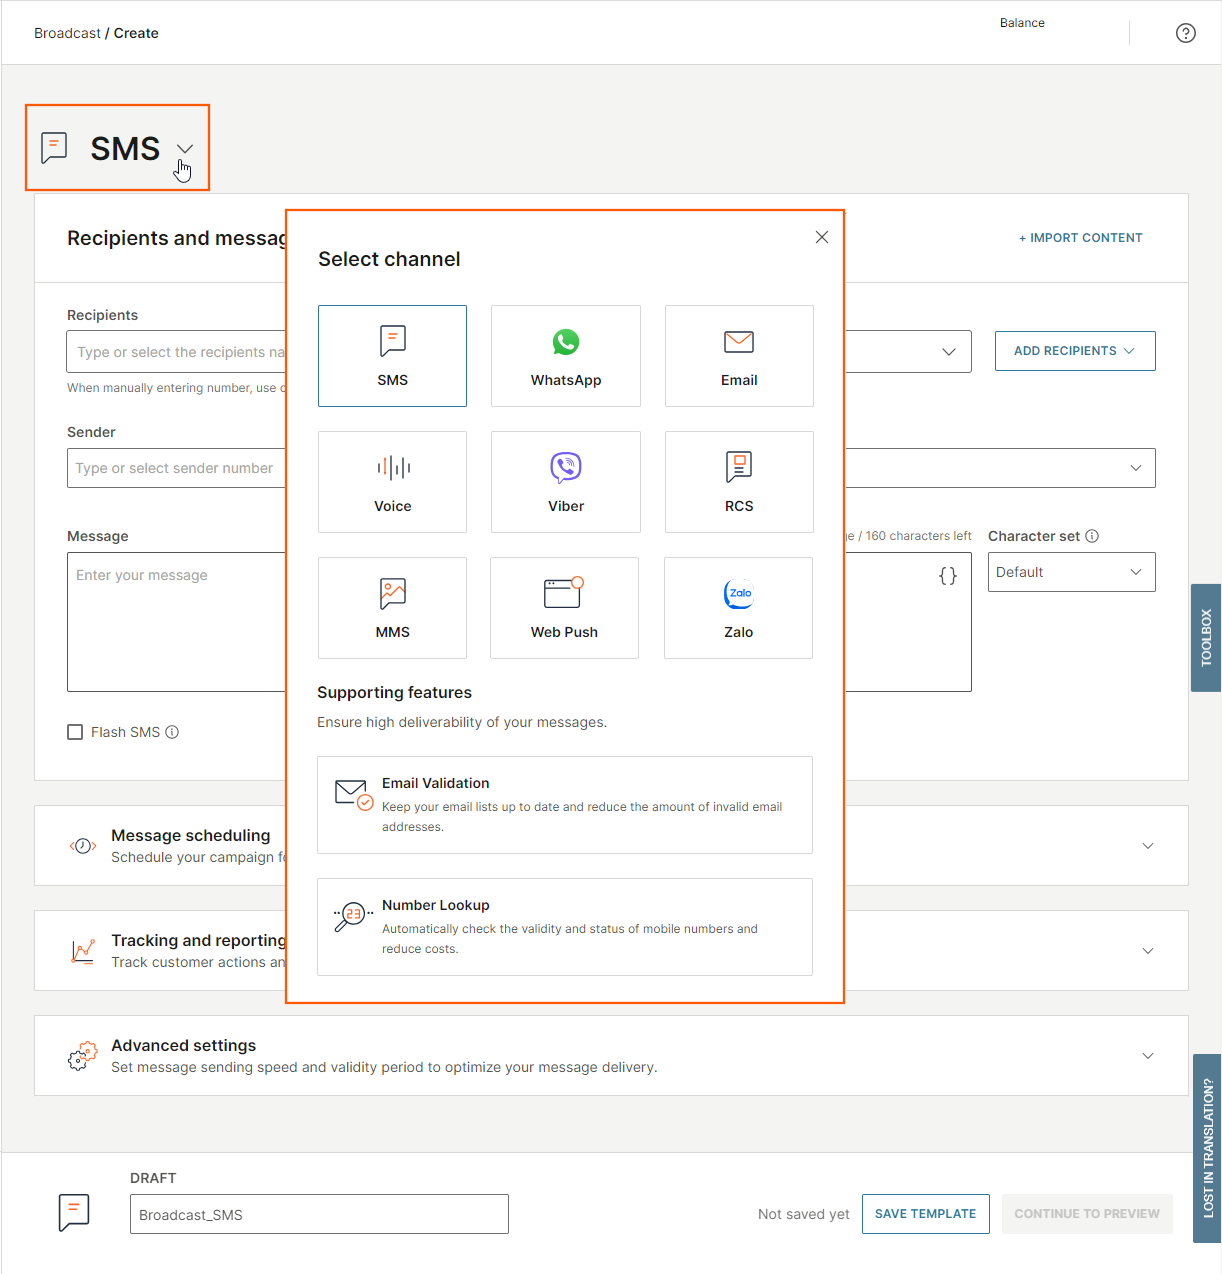
Choose a channel.
-
Choose the recipients, select the sender, and enter your message.
- You can add recipients from People, upload a file containing your audience, or use an existing file. To upload a file, see File requirements below.
-
Configure message scheduling, tracking and reporting, and advanced settings.
-
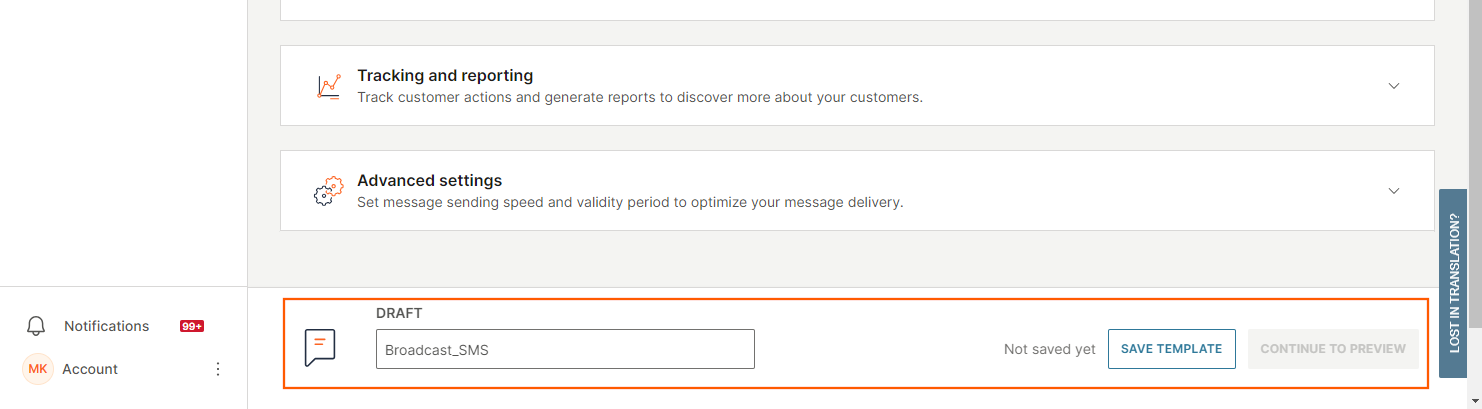
Name your draft, save it, and continue to the preview.
-
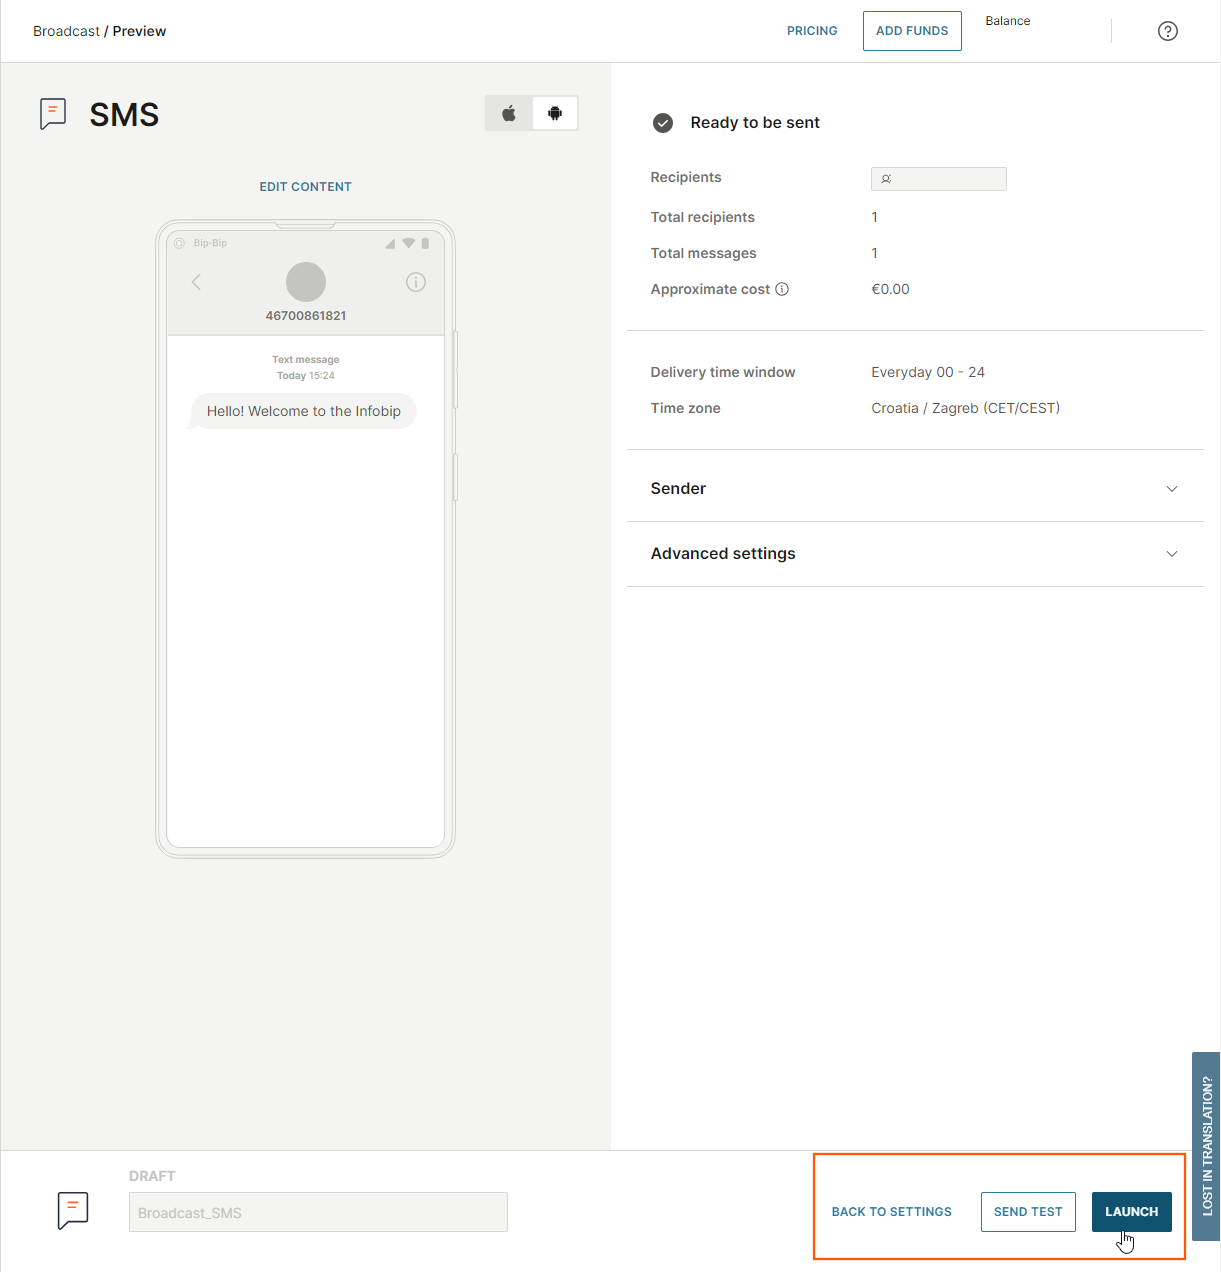
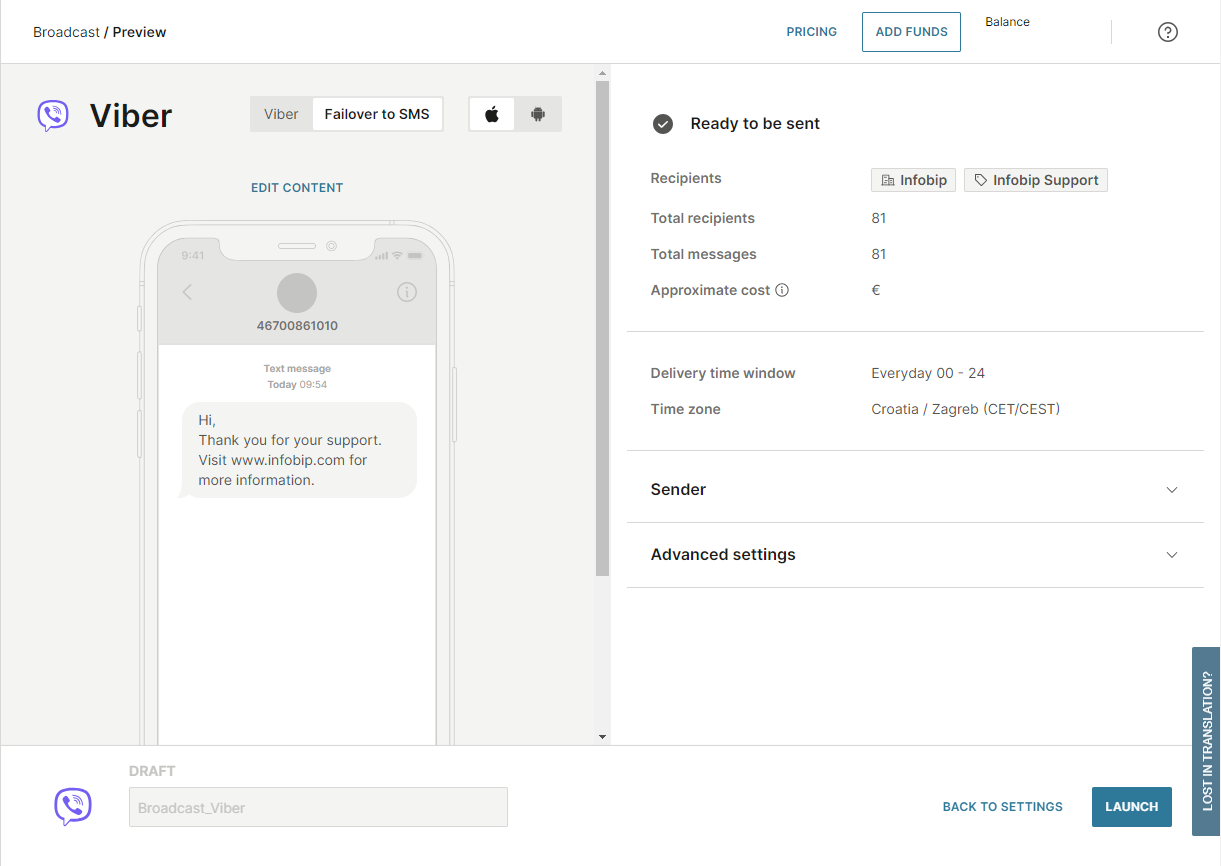
Review the settings and launch your Broadcast message.
File requirements for uploading recipients [#file-requirements-new-broadcast]
The uploaded file must meet the following requirements:
- Supported formats:
.csv,.xls,.xlsx,.txt, or.zip - Maximum file size: 50 MB
- Required columns: At least one column must be available for mapping phone numbers.
To upload a file:
- Next to the Recipients field, select Add recipients > Upload from file.
- Browse for the file on your computer or drag and drop it into the Upload window, then select Upload.
- (Optional) In the Skip rows field, specify the starting row for data import. The system ignores the rows before the specified row. If your file uses delimiters, select the delimiter and the file encoding.
You can upload only one file as a recipient list. If you are using a ZIP archive and it contains multiple files, only the first file will be processed, and the rest will be ignored.
In the Map your contact information section:
-
Map at least one Destination field to either a Number (for SMS and digital channels) or Email and check that the country prefix is correct.
-
All other columns can be used as placeholders for personalization.
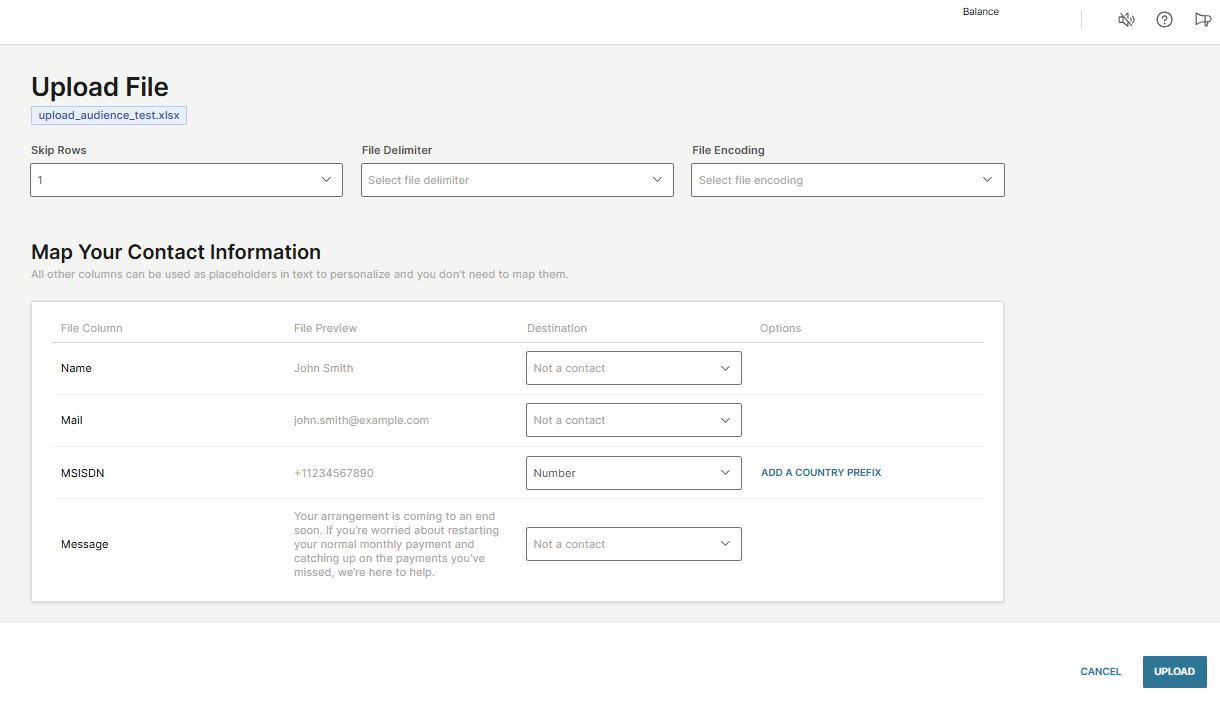
Once done, select Upload and continue editing the broadcast settings.
Channel-specific instructions [#channel-specifics-new-broadcast]
Refer to the following pages for detailed steps by channel:
- Email over Broadcast and Email validation in Broadcast
- MMS over Broadcast
- Mobile Push over Broadcast
- RCS over Broadcast
- SMS over Broadcast
- Viber over Broadcast
- Voice over Broadcast
- WhatsApp over Broadcast
- Zalo over Broadcast
Send a test message in Broadcast [#send-test-message-new-broadcast]
The Send test option allows you to send a single test message to check content, formatting, and delivery across channels before a full broadcast. Use this feature to preview the message appearance, verify dynamic content and links, and confirm successful delivery. To avoid unnecessary charges, limit test messages to essential cases and use them to validate accuracy before large broadcasts.
To test your message before launching it, select Send test and enter the recipient’s information.
Sending a test message incurs charges similar to those for a standard broadcast message.
This feature is available for the following channels:
- RCS
- SMS
- Zalo
Use Broadcast templates
Templates save time and ensure consistency in broadcast creation.
There are two ways to create templates:
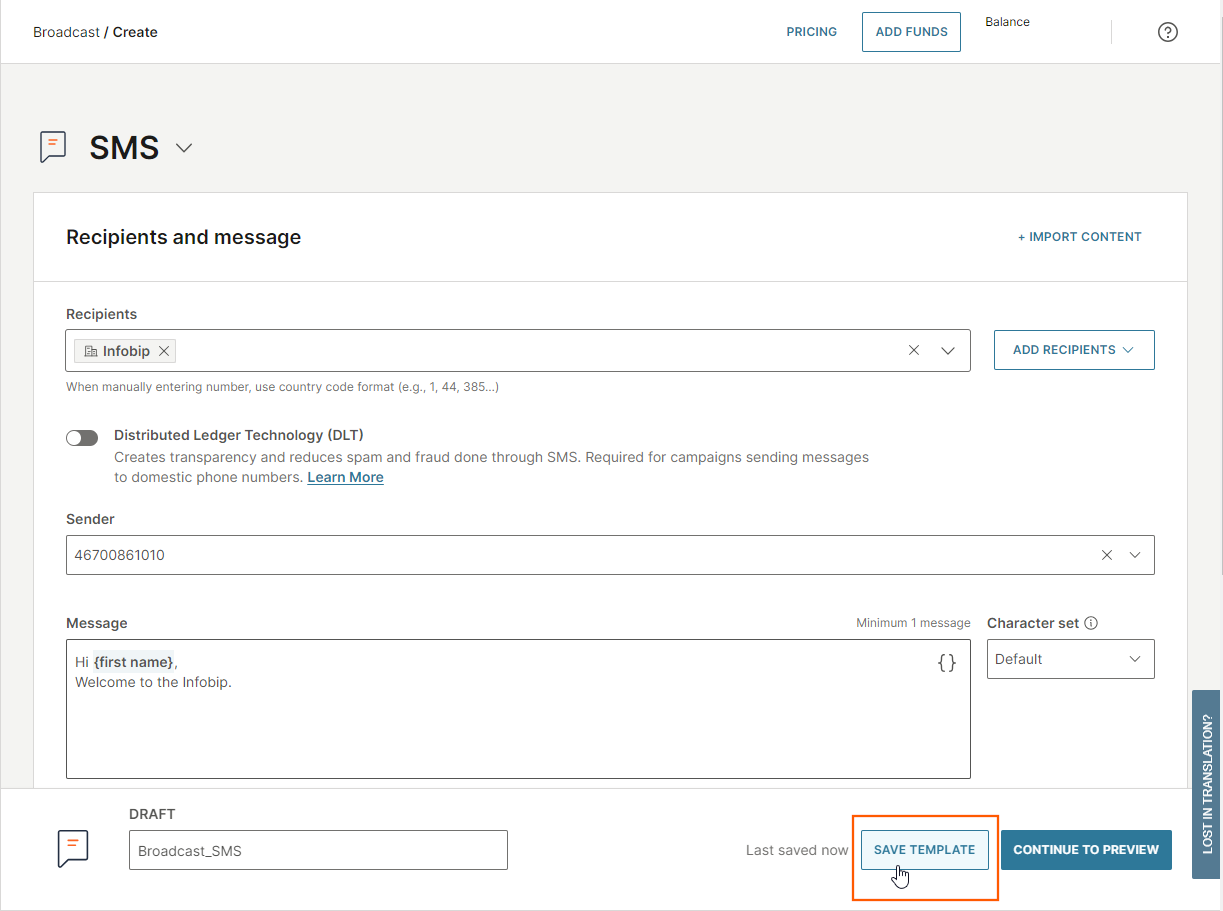
- While creating a broadcast, select Save template at the bottom of the page.
- Alternatively, go to Templates > Create template.

All templates are saved in Templates. Each template has an icon showing the tags, channel, name, and the number of communications that use it. You can duplicate, edit, or delete a template, and create new broadcasts from it.
Add failover to SMS
Failovers allow you to set up a backup communication method if the primary method fails. In Broadcast, you can enable failover to SMS so that the end user receives text messages if the first method of contact bounces.
You can use SMS failover with the following channels:
- KakaoTalk
- MMS
- RCS
- Viber
- Zalo
Failover to SMS enablement is done during the creation of a broadcast. Follow the steps below to enable it:
- When creating a new Broadcast, scroll down to the Failover to SMS section on the create screen and use the toggle to enable it.
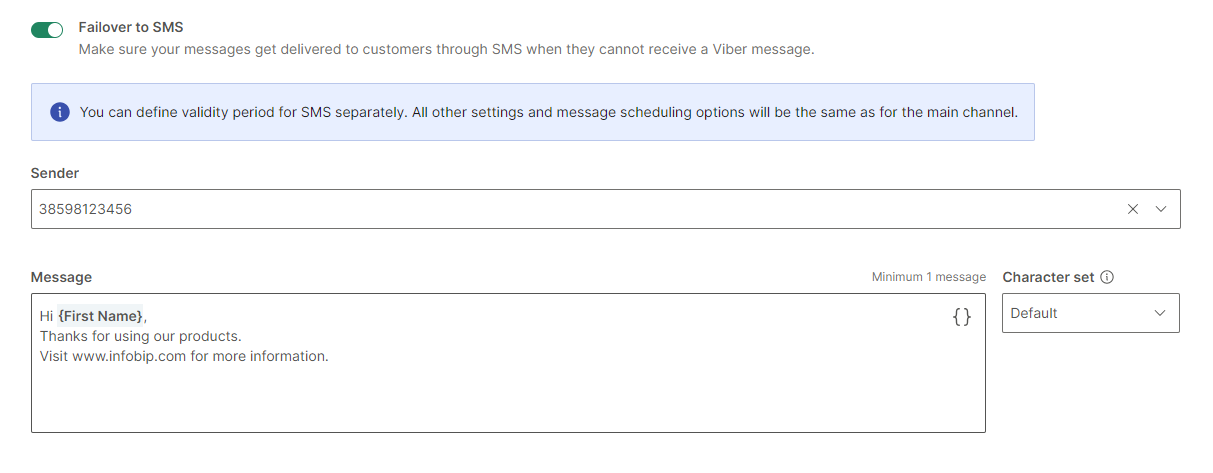
- Set up the failover parameters. Note that the failover in Broadcast only offers the option to failover to SMS, unlike in Flow, where you can failover to multiple channels.
- Set the sender for the failover SMS and provide the message to be sent, including any unique identifiers and placeholders in the body content.
- Once you click Continue to preview, use the Failover view in the editor to preview how the failover SMS will appear to end users on their mobile devices.
Personalize Broadcast messages with placeholders
You can personalize your messages using placeholders, regardless of the channel. To do so, you can choose any number of placeholders.
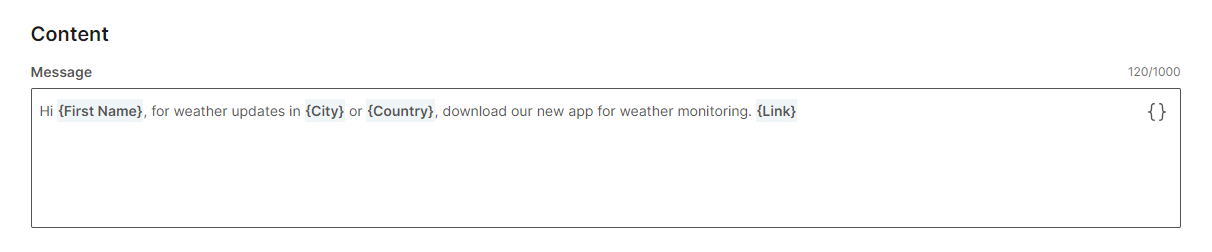
Placeholder values are derived from each person's People profile. If there is no existing value, an empty space displays instead. Placeholders can include default ones, such as first and last names, but you can also define custom attributes as needed for your business case.
This can be configured by logging in to the web interface and navigating to People > Configuration > Person custom attributes.